

Introduction:
After creation of CRM environment, to add Sales App to D365 CRM Environment follow below process
Step 1 :
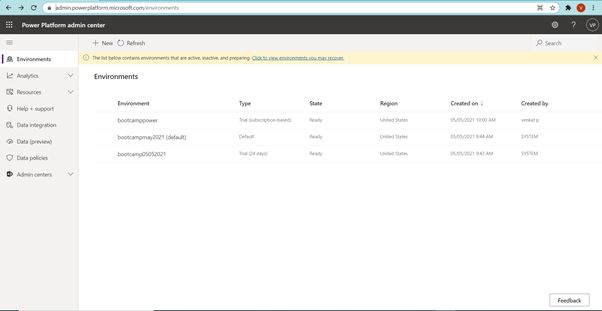
Login to https://admin.powerplatform.microsoft.com/ with your CRM Environment credentials as shown below.
Step 2 :
In the right hand side , expand Resources tab and select Dynamics 365 apps as shown below

Step 3 :
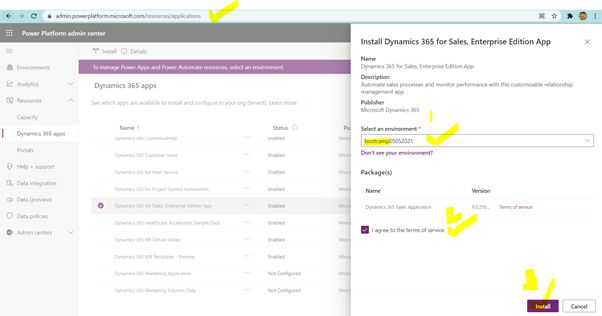
Once we click on Dynamics 365 Apps, page will be navigated to https://admin.powerplatform.microsoft.com/resources/applications ,in this page select Dynamics 365 for Sales, Enterprise Edition App and click on 3 dots […] and you can see install option, click on it as shown below

Step 4:
Once install option is selected, a screen will be opened like quick view right side of the page , in that select environment which you would like to install sales app, as an example an environment will be selected and select check box I agree to the terms of service and click on install as shown below
Step 5:
Once click on install, one can see installing progress it will take some time to spin up the app as shown in the below screen

Step 6 :
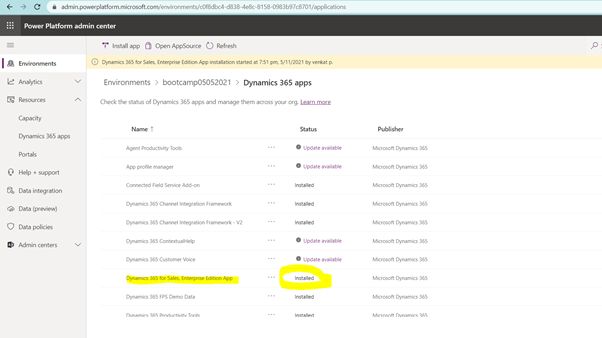
After some time, we can observe respective Sales app will be shown as installed as shown below screen shot
Step 7:
Now open your environment and go to apps. As shown below you should see sales application as list of apps.
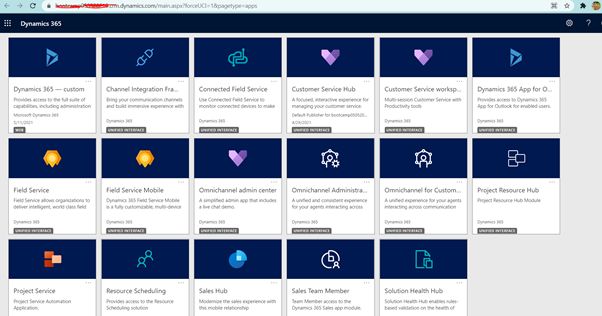
Note: In case of CRM Trial Environment, all the modules will be present by default.
Conclusion: In this way, we can add sales app to D365 CRM to CRM Environment.
Discover more from Common Man Tips for Power Platform, Dynamics CRM,Azure
Subscribe to get the latest posts sent to your email.

Very Useful for CRM Candidate , Thankyou Sir
LikeLike
Pingback: Back To Basics # : Curated List of Articles in a Single Page – Common Man Tips for Power Platform, Dynamics CRM,Azure