

Introduction: With the introduction of Unified interface in Dynamics CRM , we have option of creating an app in D365 CRM with our custom entities and site maps and forms ,views,charts and Dashboards.
Following are various steps to implement.
Step 1 :
Login to D365 crm environment /trial environment, if you want to know about how to create a trial environment, please refer to my previous log Back to Basics #1 and to the right of the page a gear icon will be present , click on it and select Advanced Settings as shown below
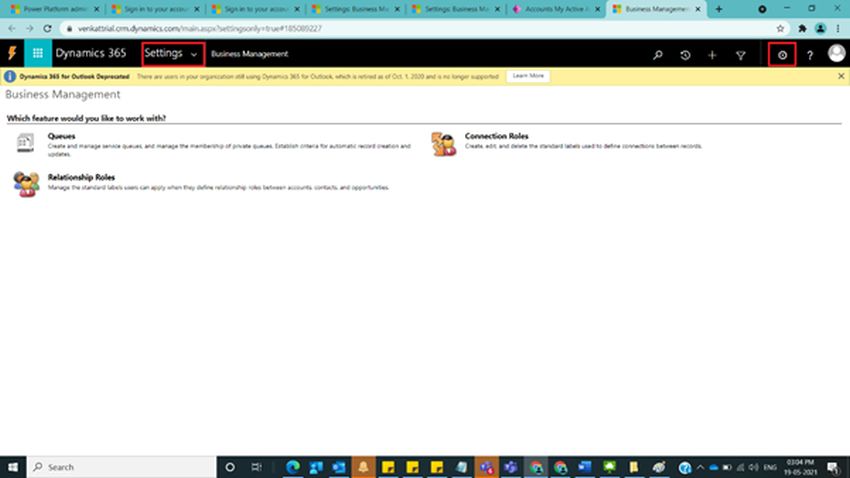
Step 2:
Now click on settings tab and look for apps, select on apps screen should look like below.

Step 3 :
User will be navigated to Apps screen as shown below and click on +create new App from the right side of the window as shown below.

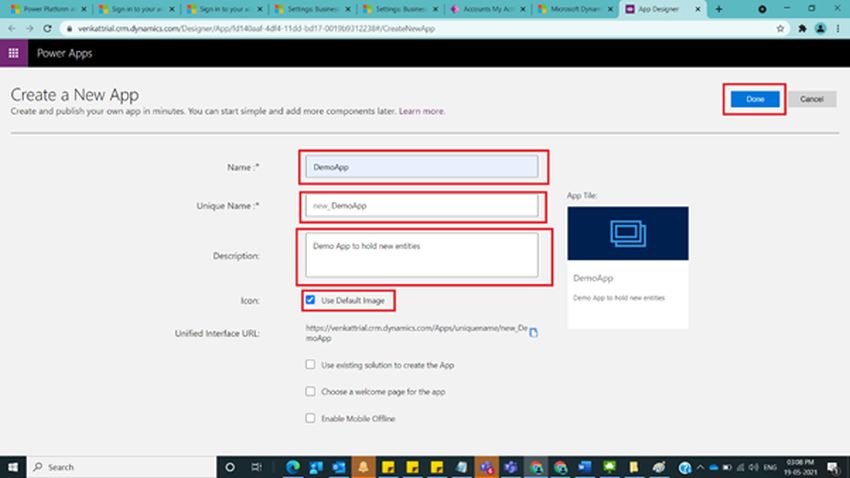
Step 4 :
User will be navigated to below screen on click of new app button in previous step and provide name and description and icon and click on Done Button.
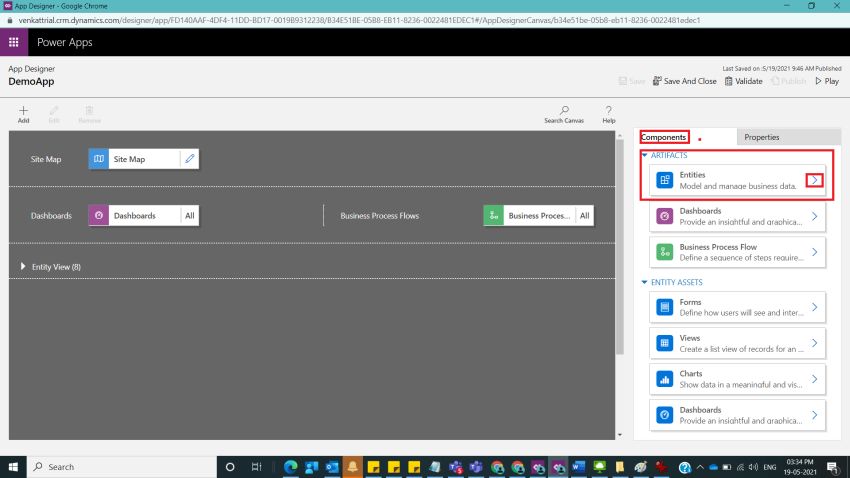
Step 5 :
Once on click on Done, below screen will be shown and we have to add entities to the newly created app. To do this observe in the right side of page under Components tab, under Artifacts section -> Entities as shown below
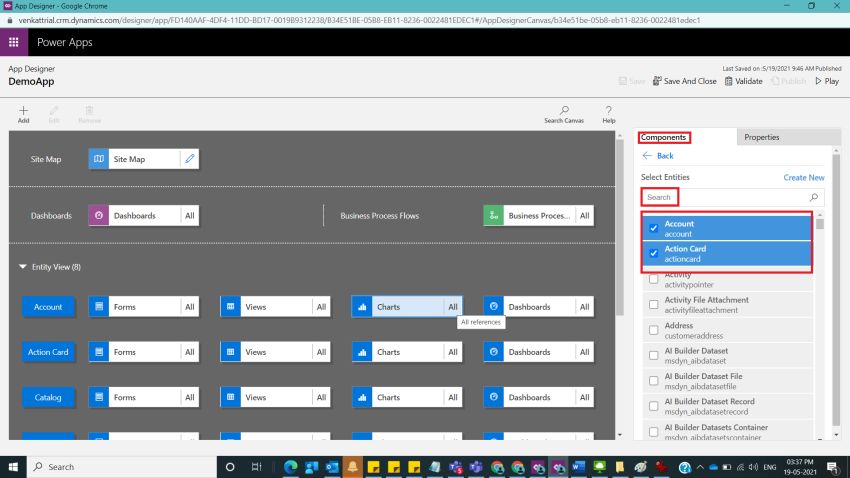
Step 6:
Now click on entities and select required entities that you like below and click on save
Step 7:
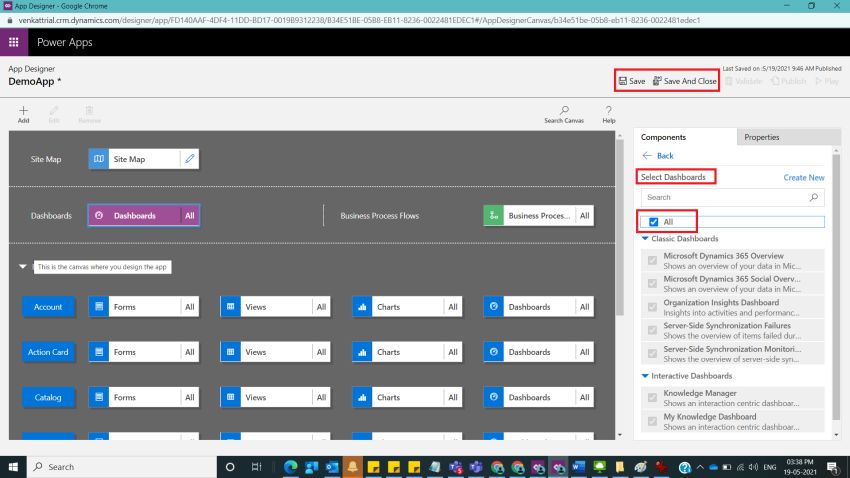
Now click on Dashboards under components and select required dashboards as shown below and click on save
Step 8:
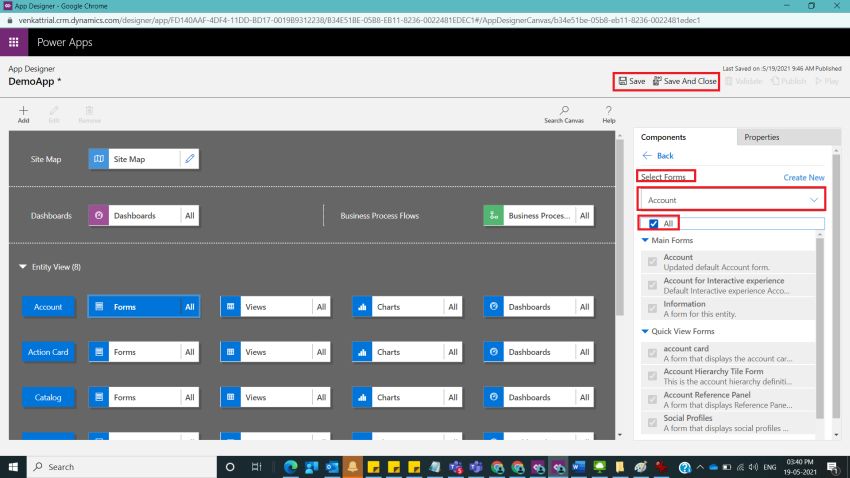
Now Click on all components that are present under Entity Assets like forms ,Views ,Charts, Dashboards select the required components that you required and click on publish as shown below
Step 9 :
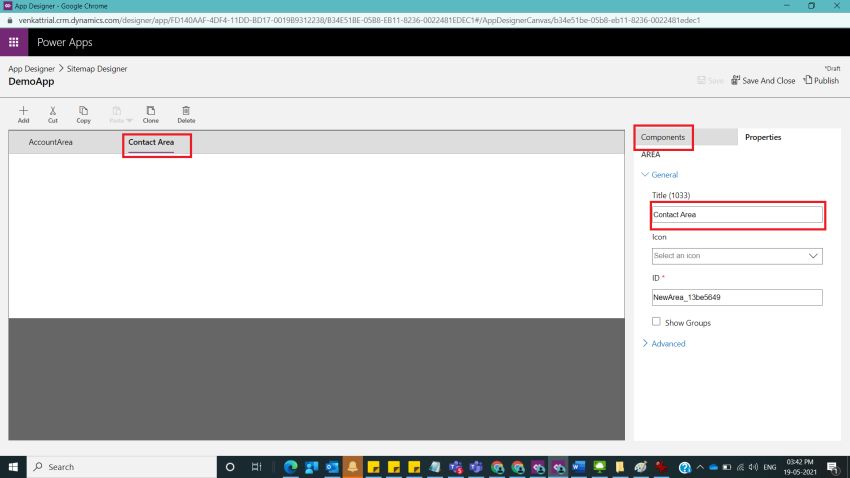
In the app designer , under Site Map click on pencil icon beside text Site Map as shown below and after that you could see 3 components in the right side Area, Group and Subarea. Select each component and specify Names for each of the component as
Step 10:
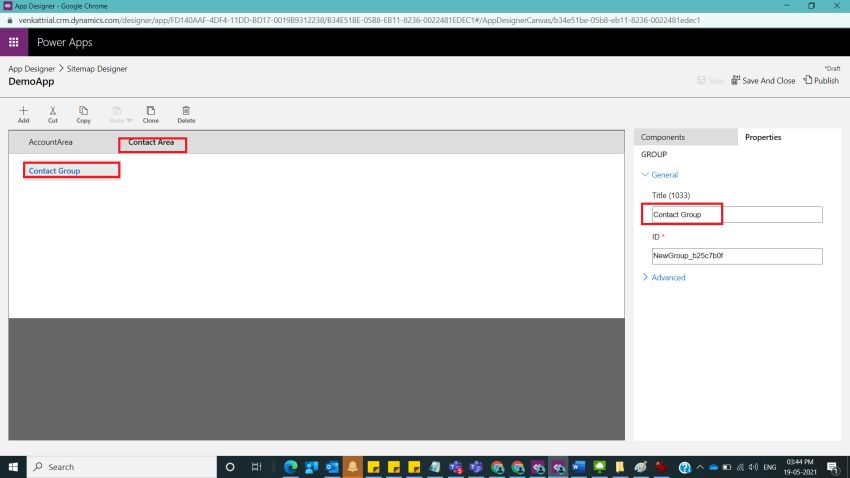
Select Contact Area as created above and select on Add New Group and give name as Contact Group and click on save as shown below
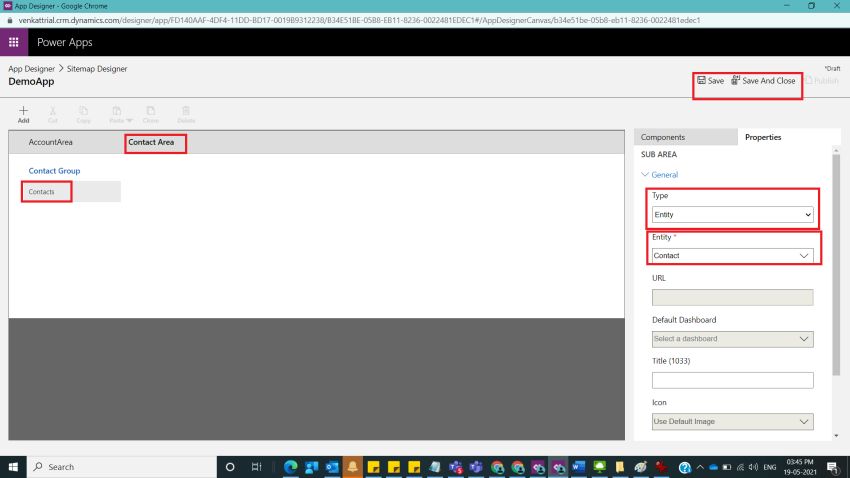
Step 11:
Now Click on Contact Sub Area and again click on + Add Button at the top and you should see right side under sub area and provide type – Entity and Entity as Contact for example and click on save and publish you should see new sub area for Contact should be created as shown below
Step 12:
Now click on publish and navigate to apps section [Click on gear icon-> Advance settings-> Settings -> Apps and you could see our newly created app will appear as shown below.

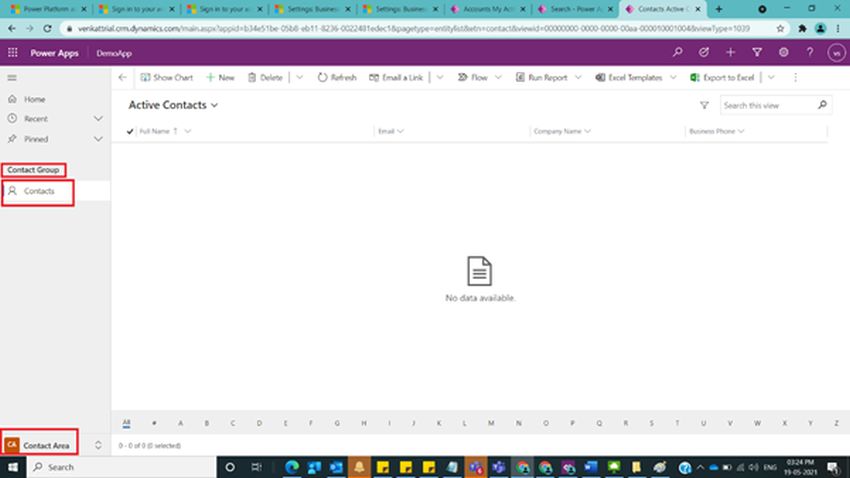
Step 13:
Now click on Demo App and you should navigate to the following Demo App in Unified interface and observe our selected entity Contact and Area at the lower side of Demo App you should see sitemap for Contact as shown below
Step 14:
You can find the created above app in Default solution under Modern Driven Apps as shown in below diagram

Conclusion:
In this way we can easily create app in D365 CRM Environment without writing any code.
Discover more from Common Man Tips for Power Platform, Dynamics CRM,Azure
Subscribe to get the latest posts sent to your email.

Pingback: Back To Basics # : Curated List of Articles in a Single Page – Common Man Tips for Power Platform, Dynamics CRM,Azure